Posted on

Antique Car – Continued – Making of Top and Details like Ligths, Bumpers, etc.

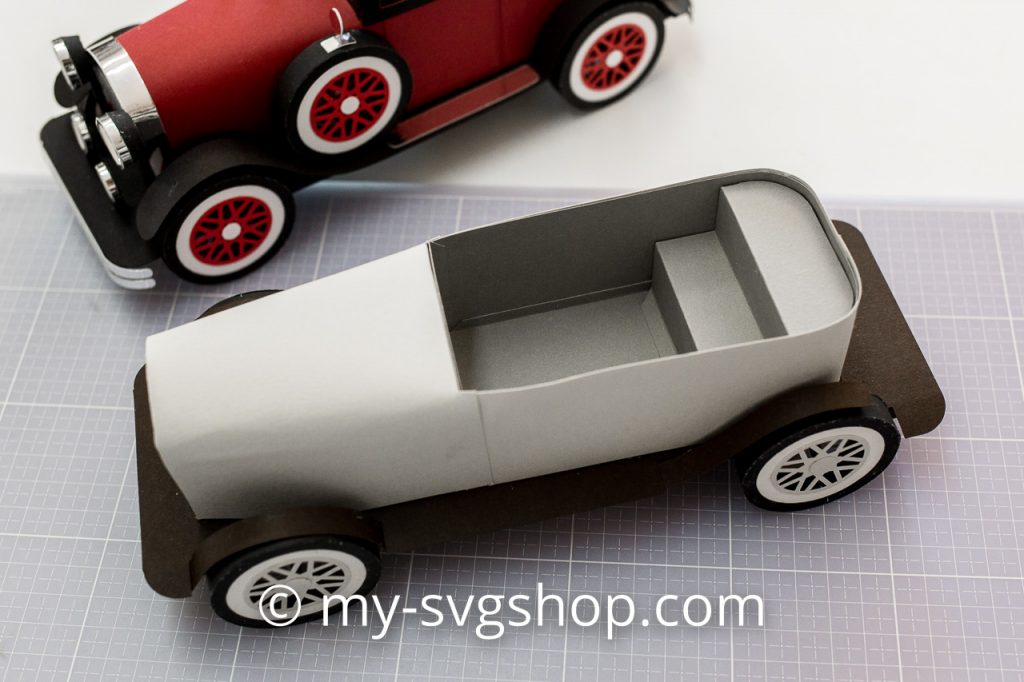
This is the last blog post regarding the production of our new classic car. The pdf and svg file set is already available in the shop. It can be used with a cutting device that has a cutting mat of at least 8 x 12″. So e.g. Silhouette Cameo (with Silhouette Studio from Designer Edition), Brother ScanNCut, Cricut Maker. With Cricut Joy the cutting mat is unfortunately too small.

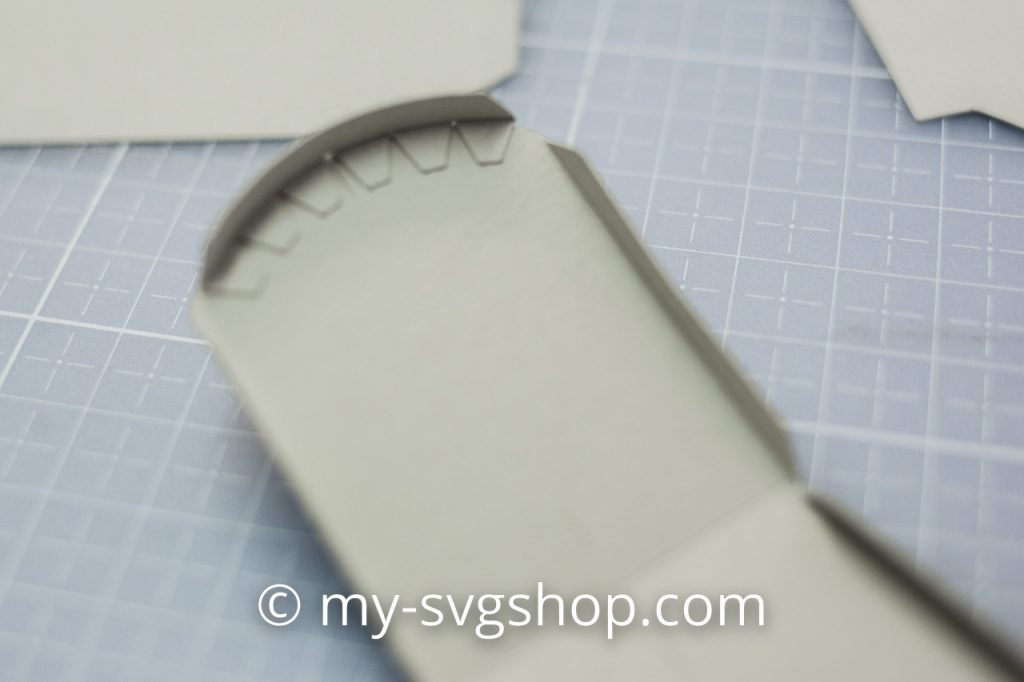
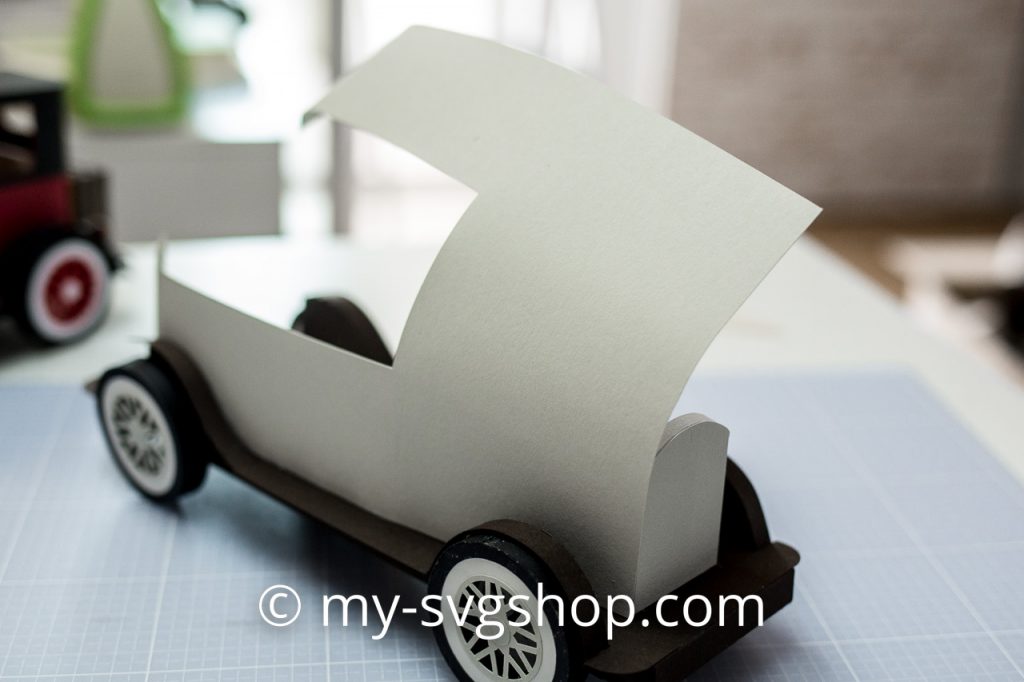
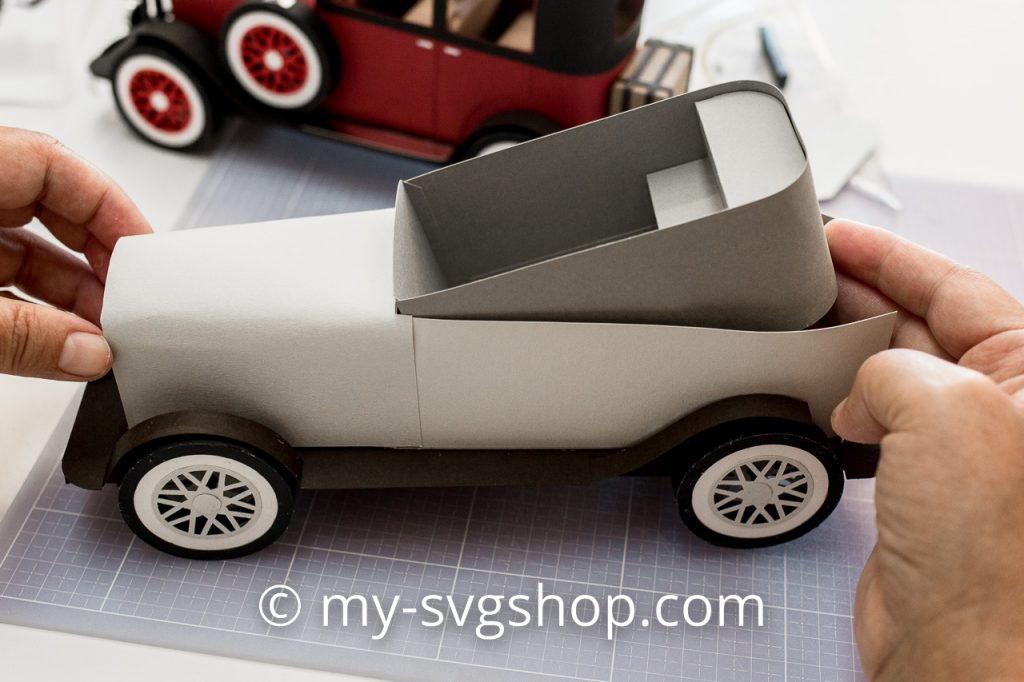
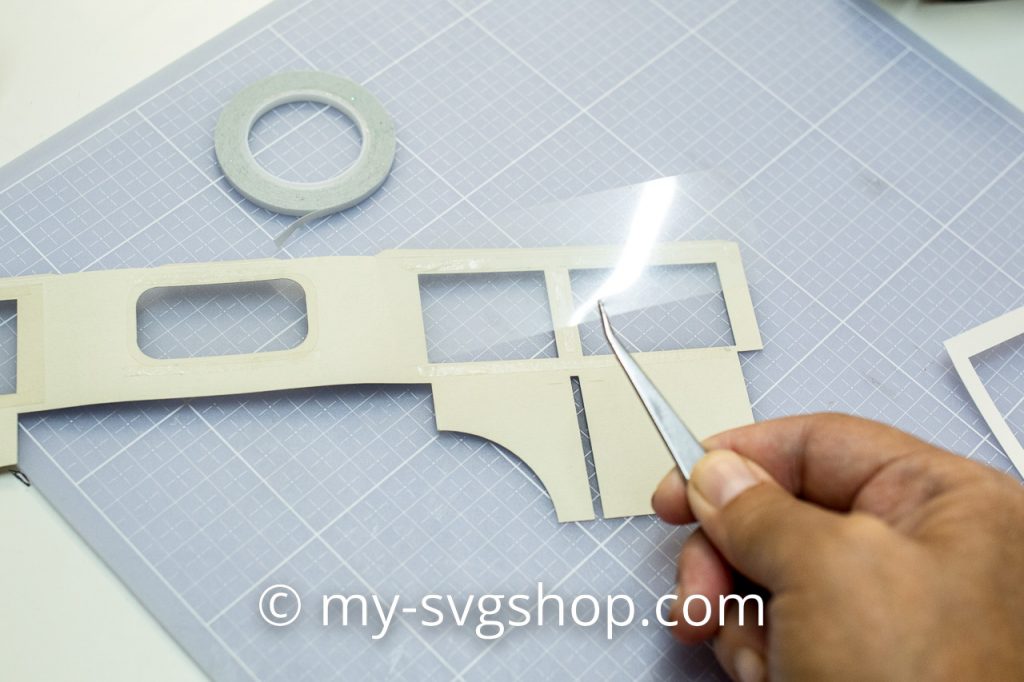
In the next step, the top is made. The transparent window panes are glued in first (it is best to use transparent film for cutting).

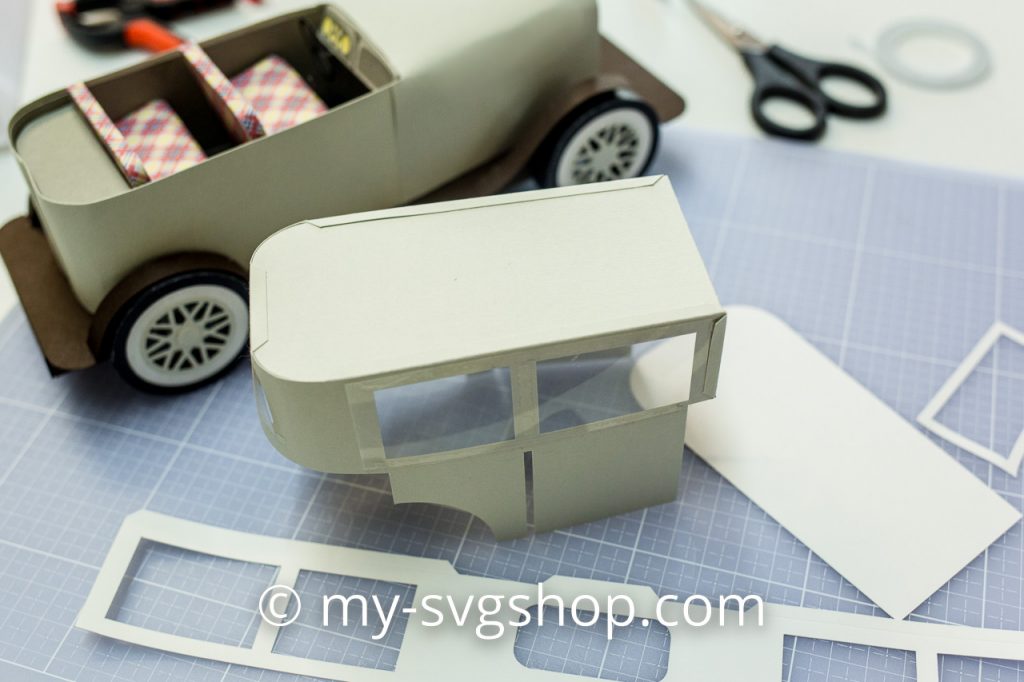
After gluing the window panes, you should ideally glue the entire top together. This has the advantage that you can still reach into the top with tweezers or fingers, later when the top is mounted on the body this is no longer possible.

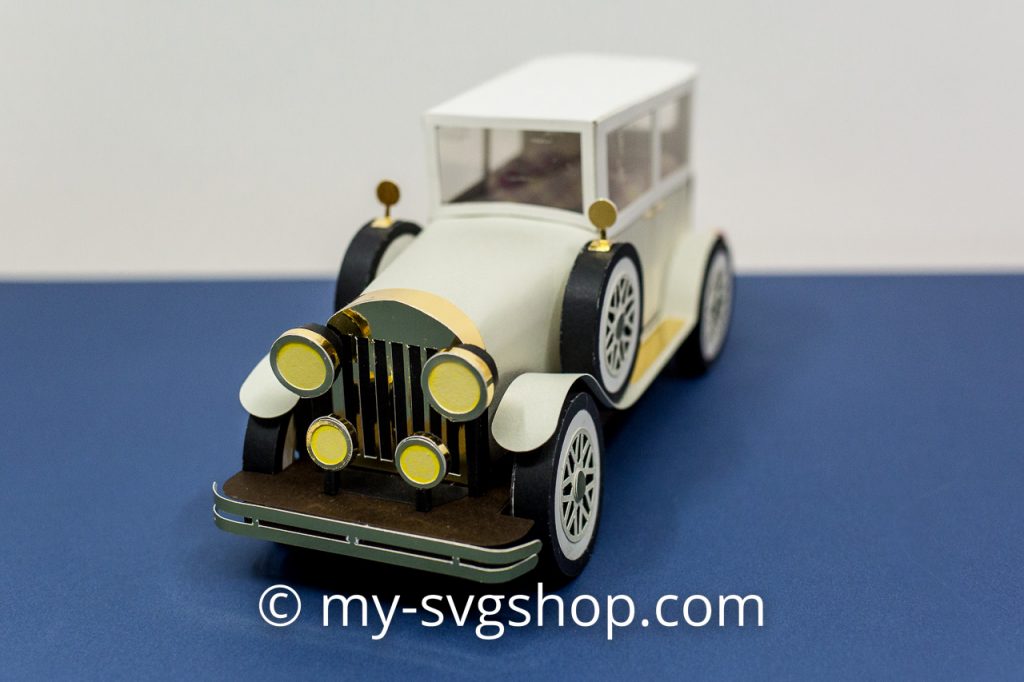
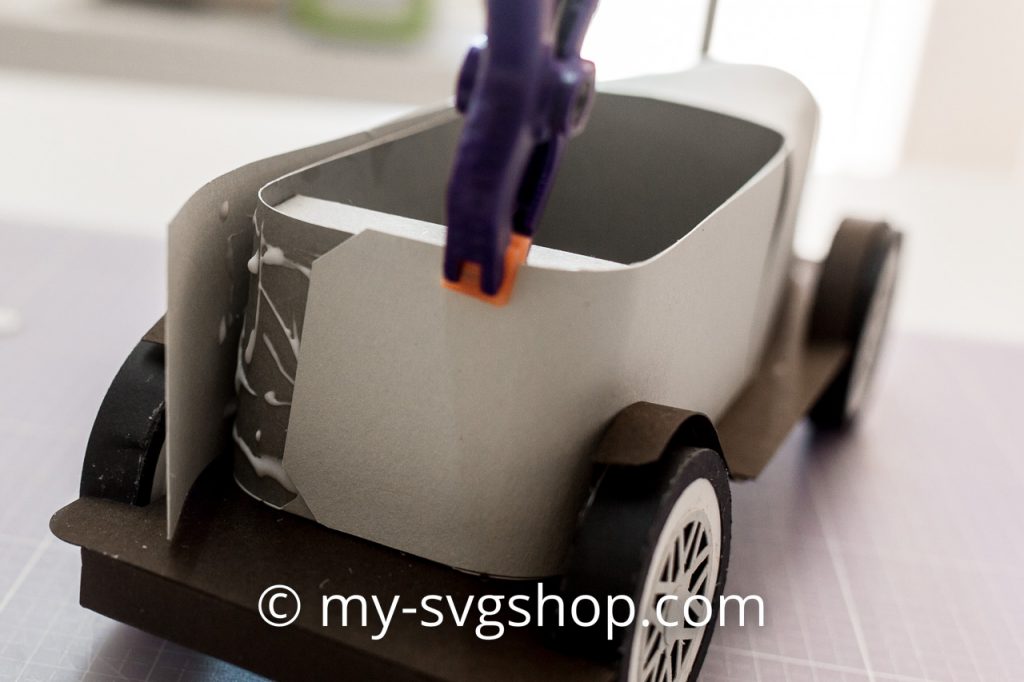
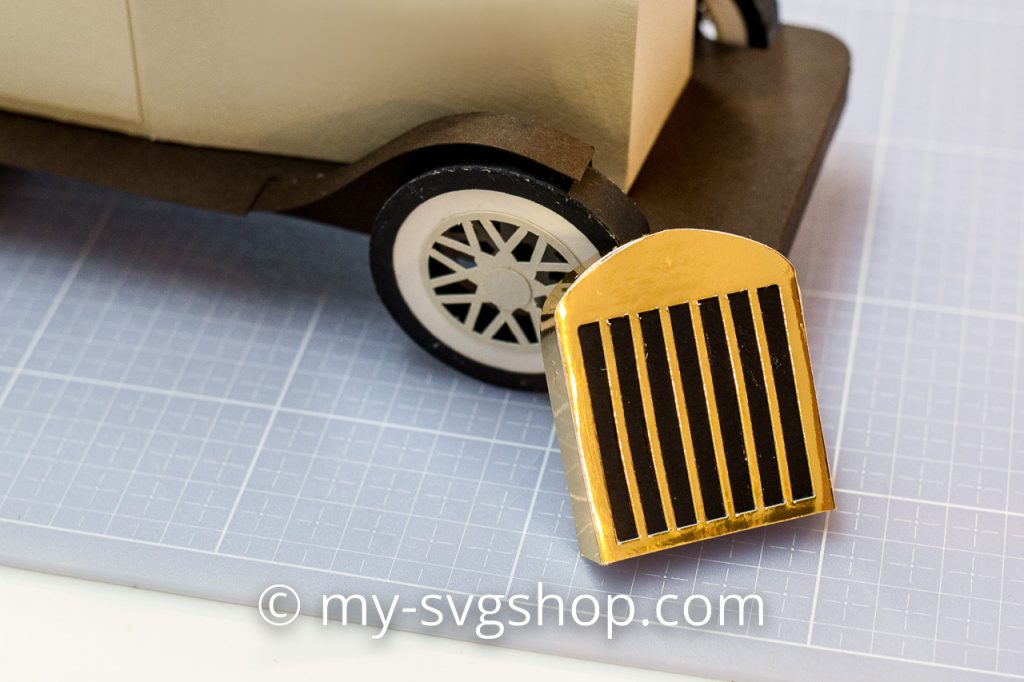
Finally, the completely glued together radiator grille is placed on the bonnet and glued on.

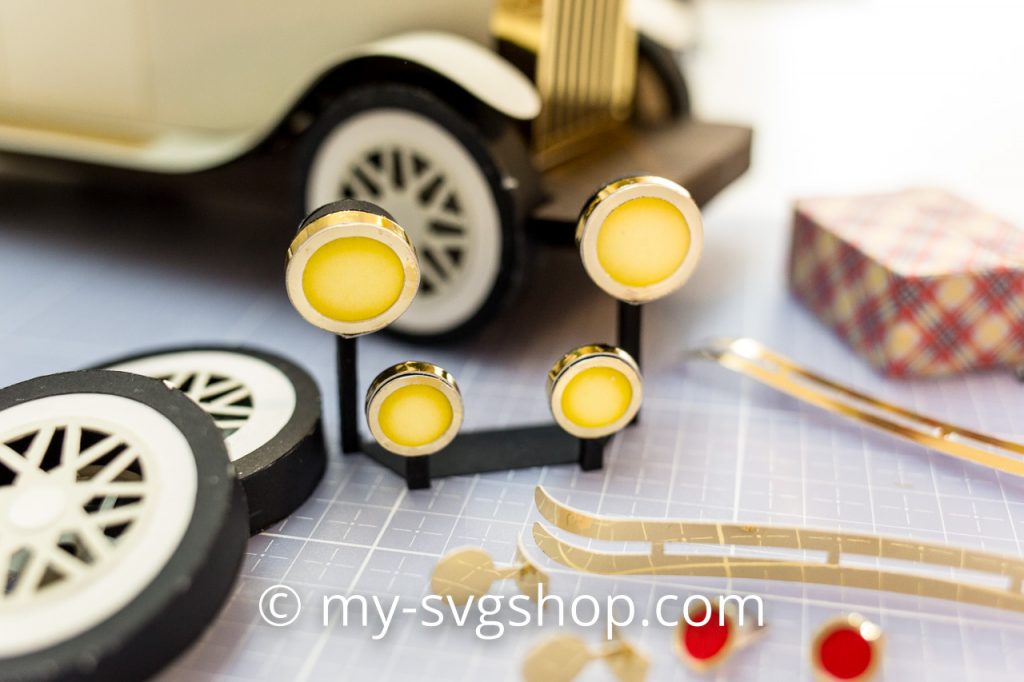
As the last section you have to produce all the small details like headlights or mirrors. In view of the many small parts, this is a relatively laborious affair, but it is really worth it due to the great later appearance of the classic car!

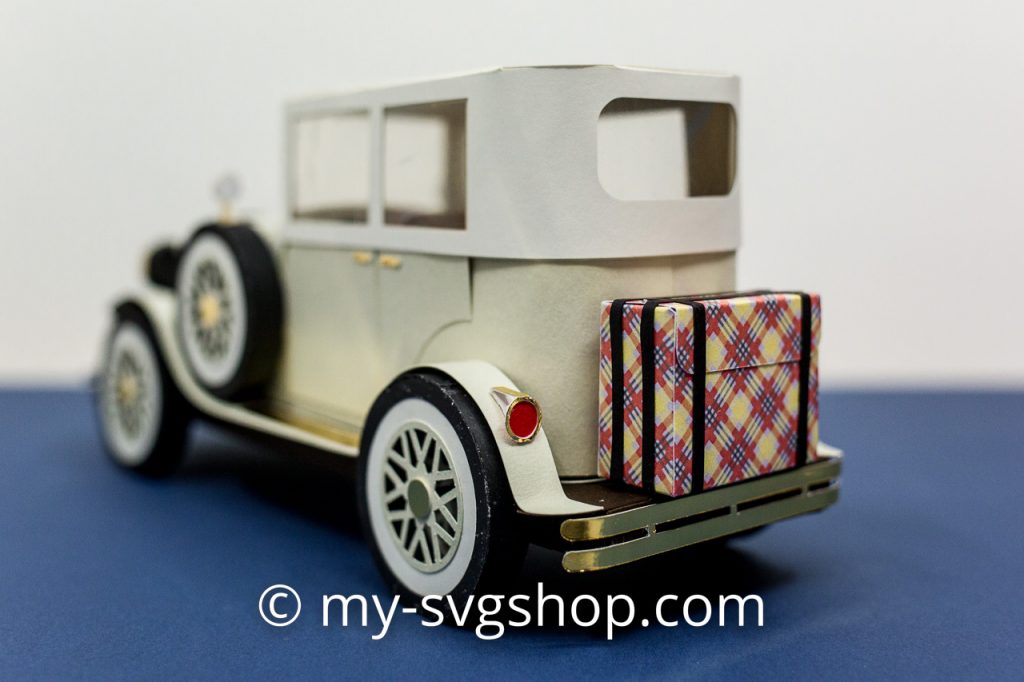
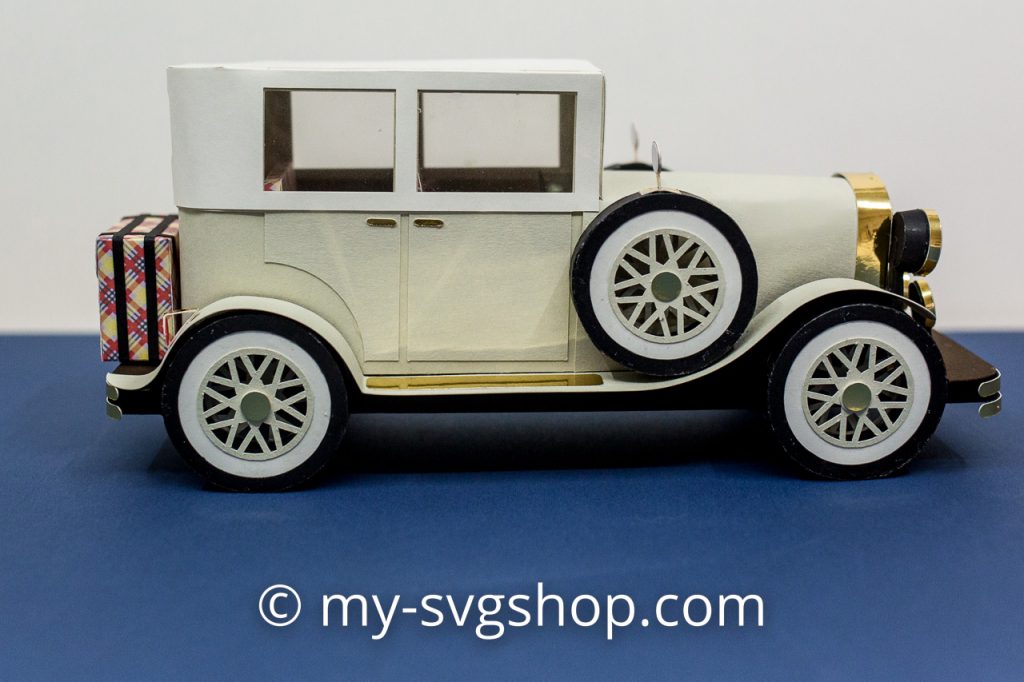
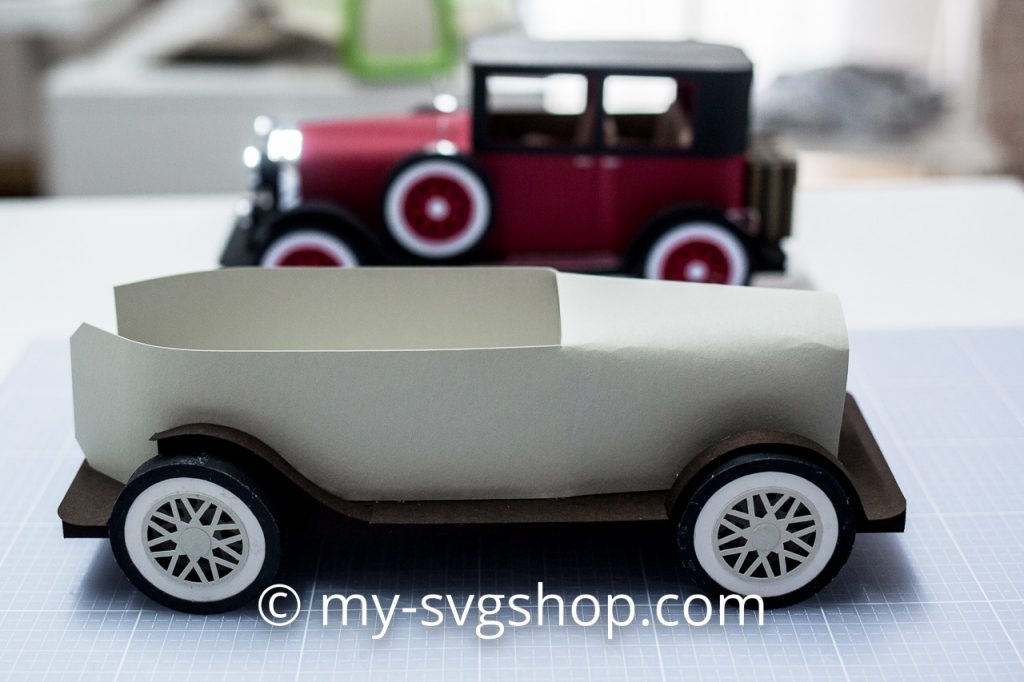
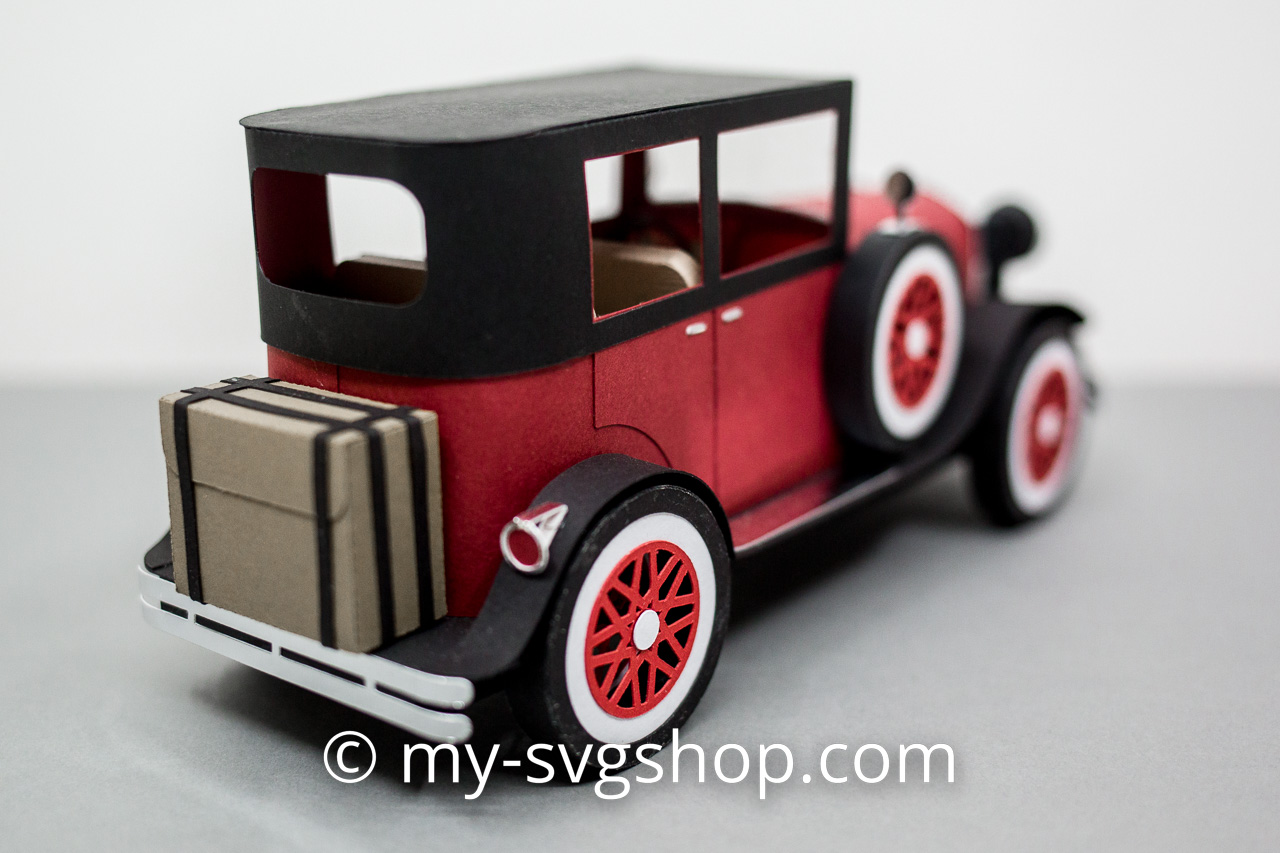
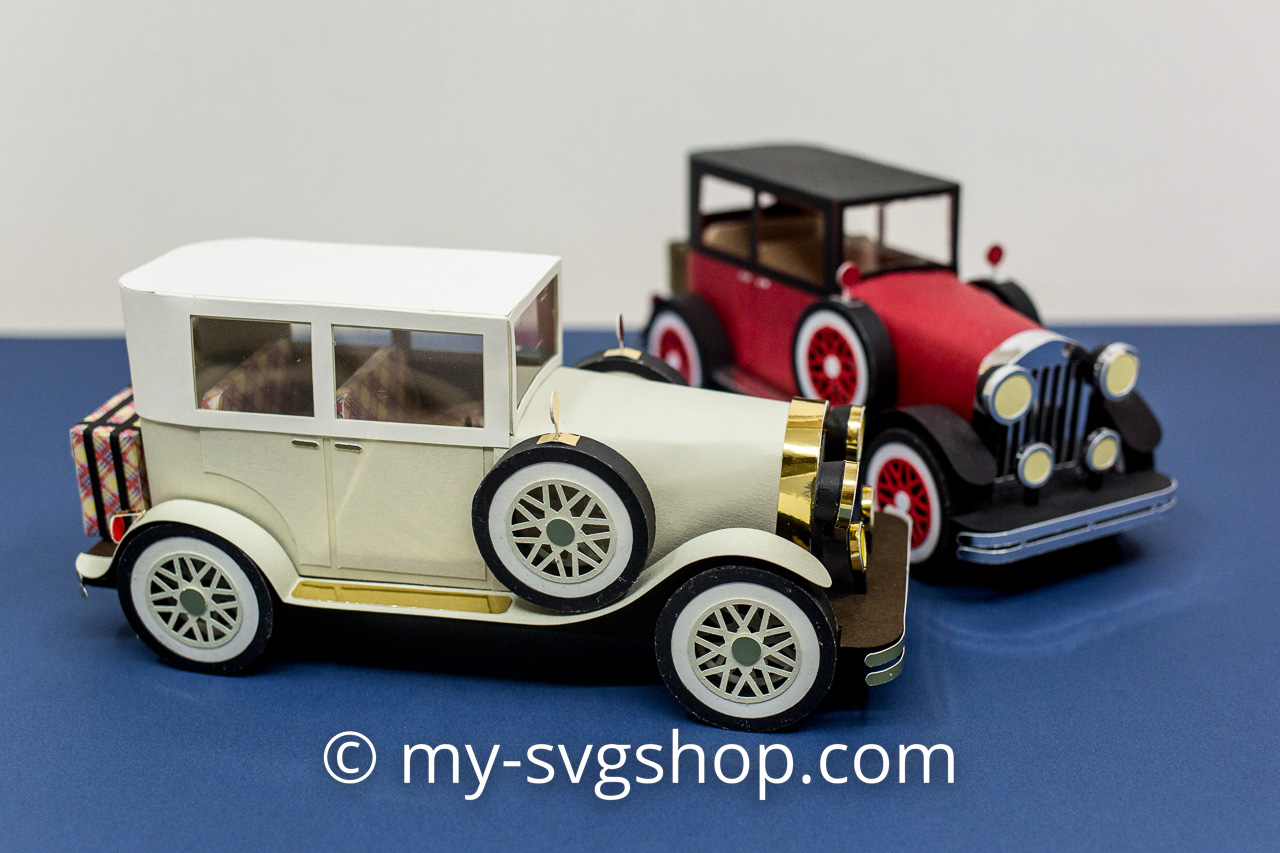
Finally, a few photos of the finished classic car – the rear view with the case is also a real eye-catcher!

Create a Classic Car with printable paper craft sheet or svg cuttingfiles for Cutting Machines
Posted on

Antique Car – Continued – Making of hood and passenger compartment

Today continues with the production of the vehicle body.

For the vehicle construction, a few parts have to be provided with reinforcements. This makes it much easier to glue different parts later. In addition, the reinforcements help to ensure that the vehicle has the right shape.

The hardest part is definitely when you wrap the engine part and the vehicle cabin. Even if you work very carefully, it can happen that you get unwanted creases in the paper.

To make it a little easier to glue the sheathing and to conceal any kinks, I have added the following two auxiliary parts to the SVG file set:

The elongated cuboid can be glued into the engine area. This gives a little more resistance when gluing the sheathing.

With the second sheathing part you can then smooth the bonnet a bit.

In the next step, the vehicle cabin is then manufactured, which is then glued into the casing.

The next blog post will follow shortly – with the detailed design of the vehicle interior.

To be continued ….

Posted on

Antique Car – Continued – Making Wheels

Today I show you how the wheels of the vintage car are made.

You can watch the video below so that you can follow exactly how the wheels are made

Another hint: Sometimes it is very helpful if you e.g. use a table edge to fold parts. I folded the wheel axles with the help of a table edge, which makes the folds much more precise.

In the photos below you can see how I glue the wheels onto the axle. If you work very precisely, the wheels can turn later – like on a toy car.

This is what the finished lower part of the classic car looks like:

More details will follow soon …