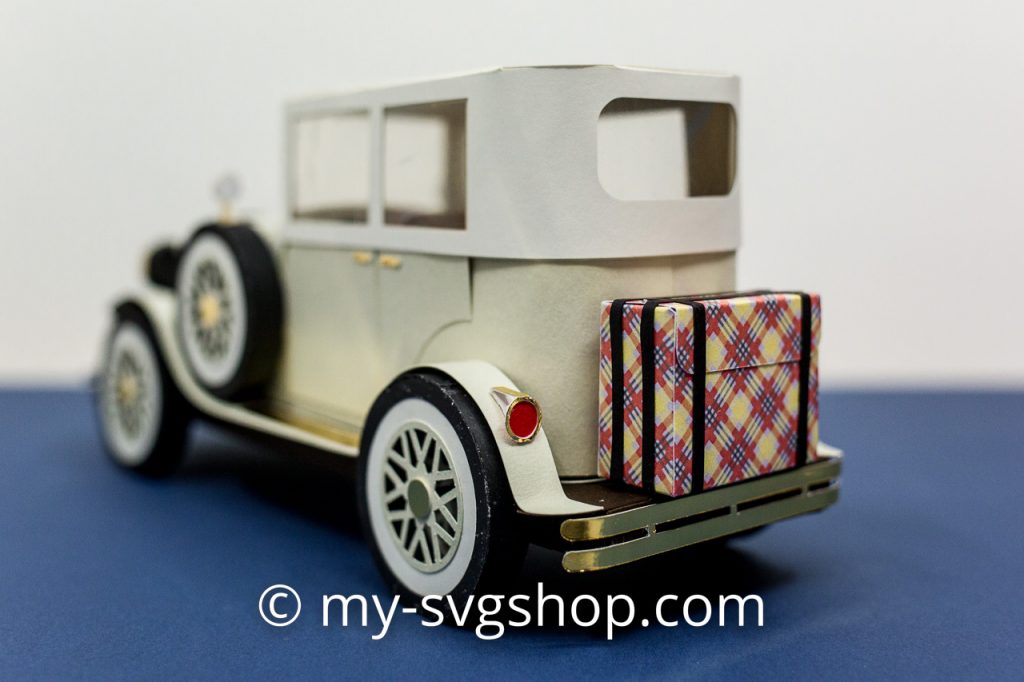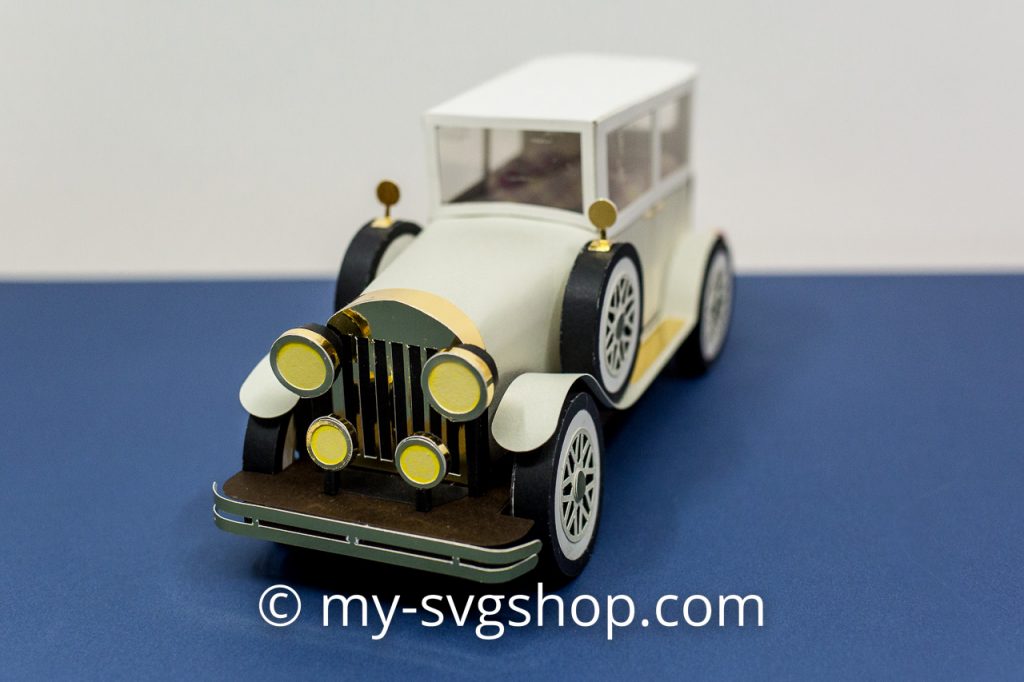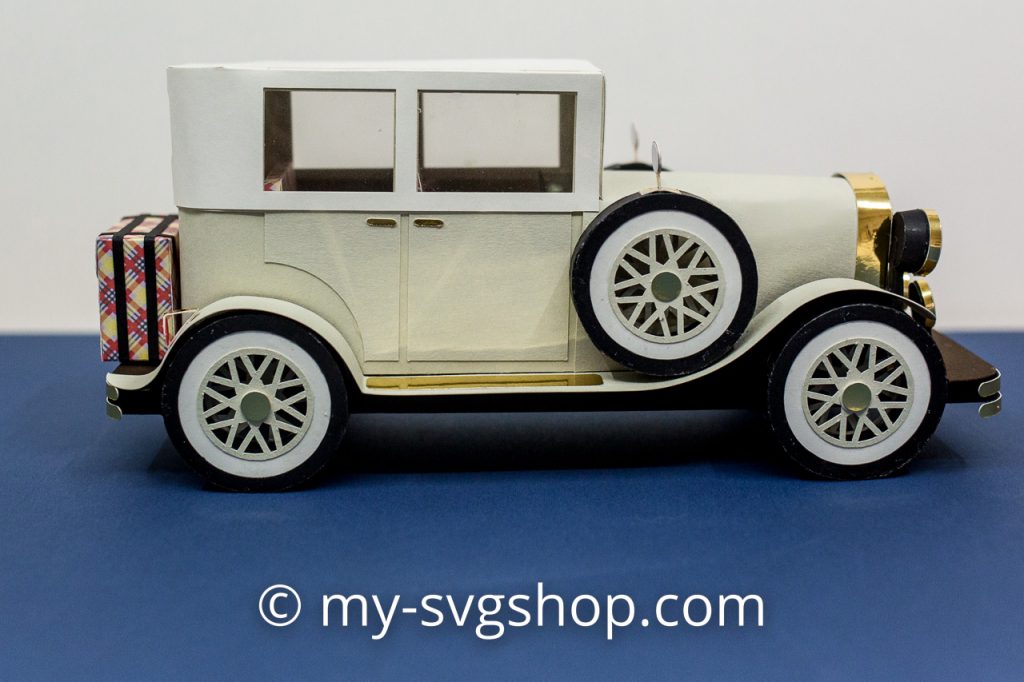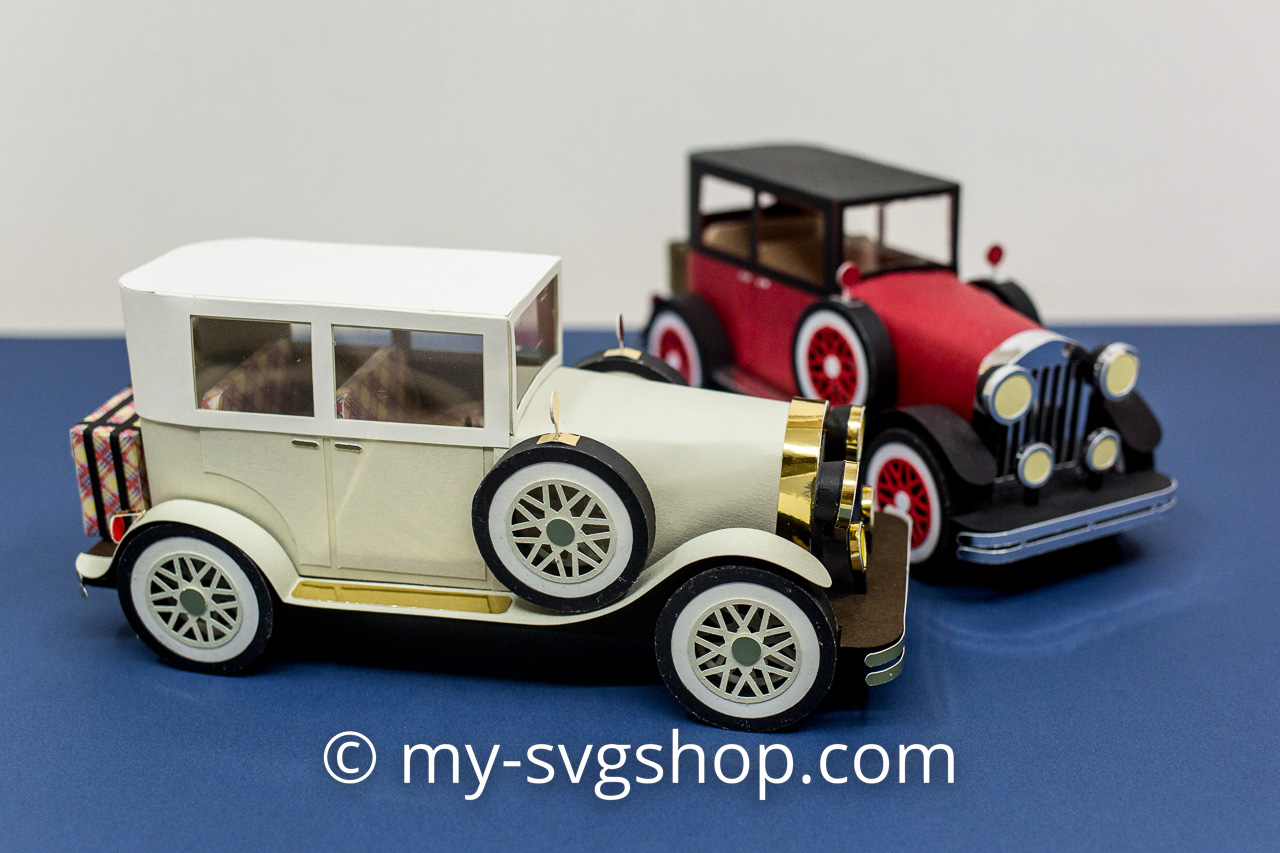
This is the last blog post regarding the production of our new classic car. The pdf and svg file set is already available in the shop. It can be used with a cutting device that has a cutting mat of at least 8 x 12″. So e.g. Silhouette Cameo (with Silhouette Studio from Designer Edition), Brother ScanNCut, Cricut Maker. With Cricut Joy the cutting mat is unfortunately too small.
In the next step, the top is made. The transparent window panes are glued in first (it is best to use transparent film for cutting).
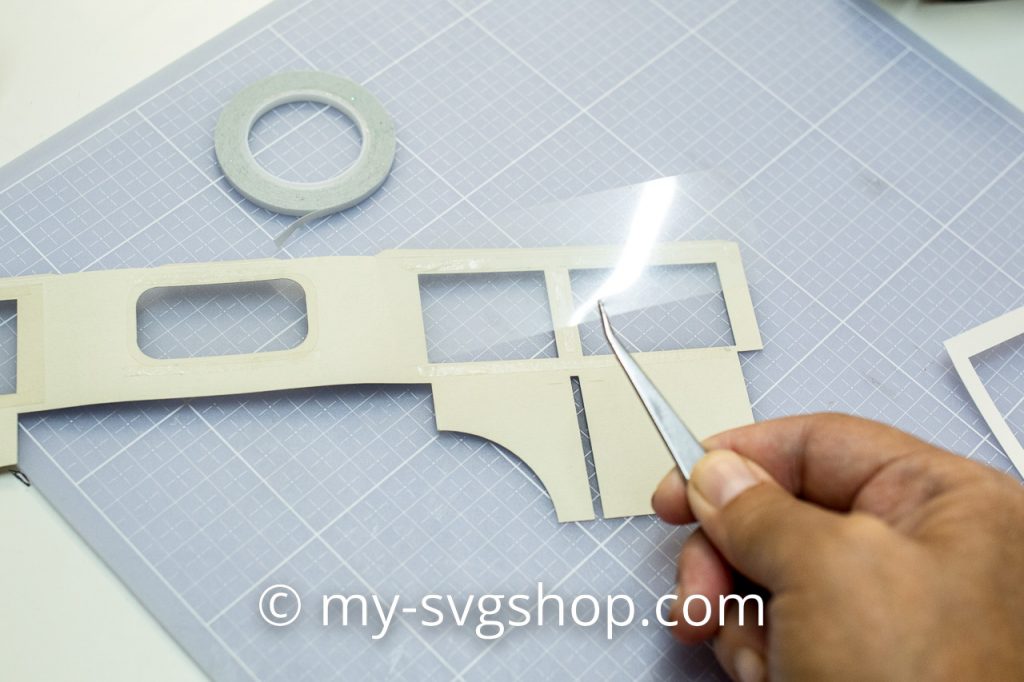
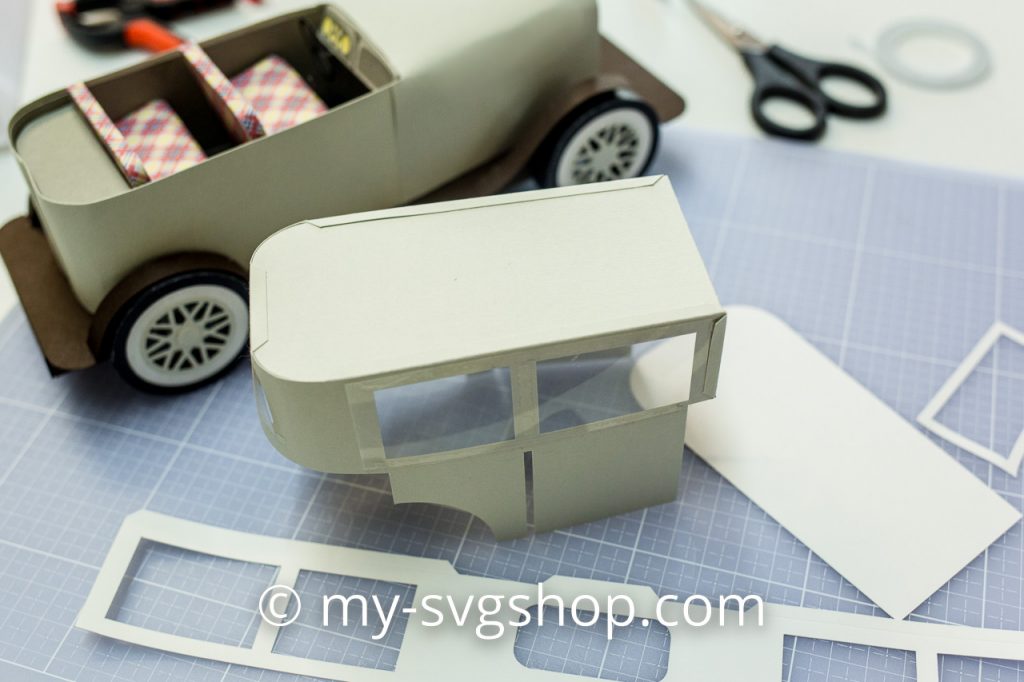
After gluing the window panes, you should ideally glue the entire top together. This has the advantage that you can still reach into the top with tweezers or fingers, later when the top is mounted on the body this is no longer possible.
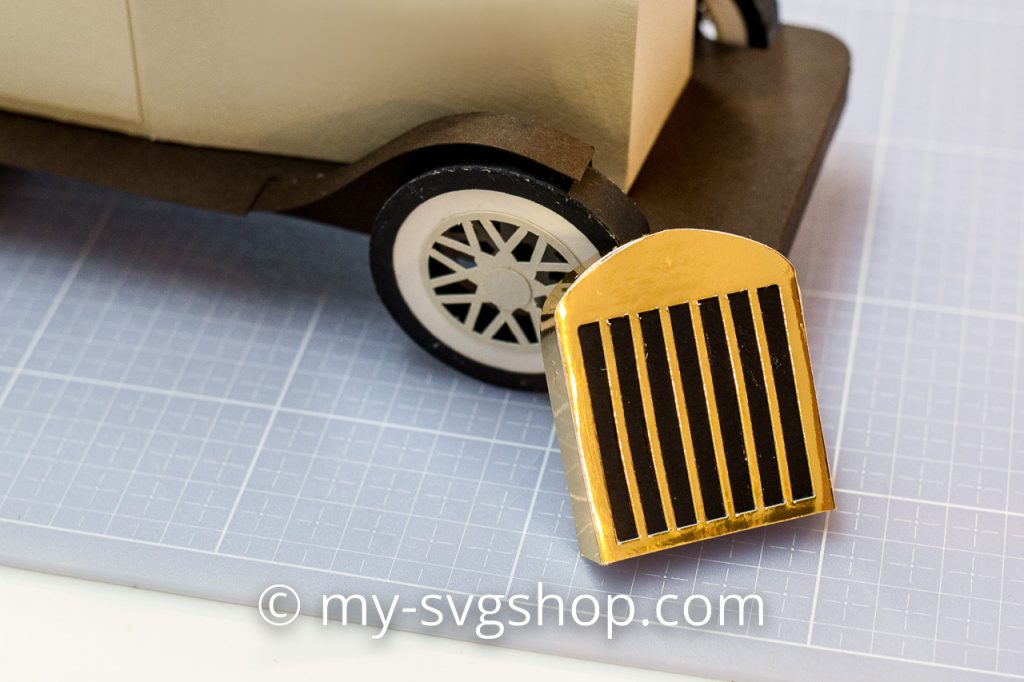
Finally, the completely glued together radiator grille is placed on the bonnet and glued on.
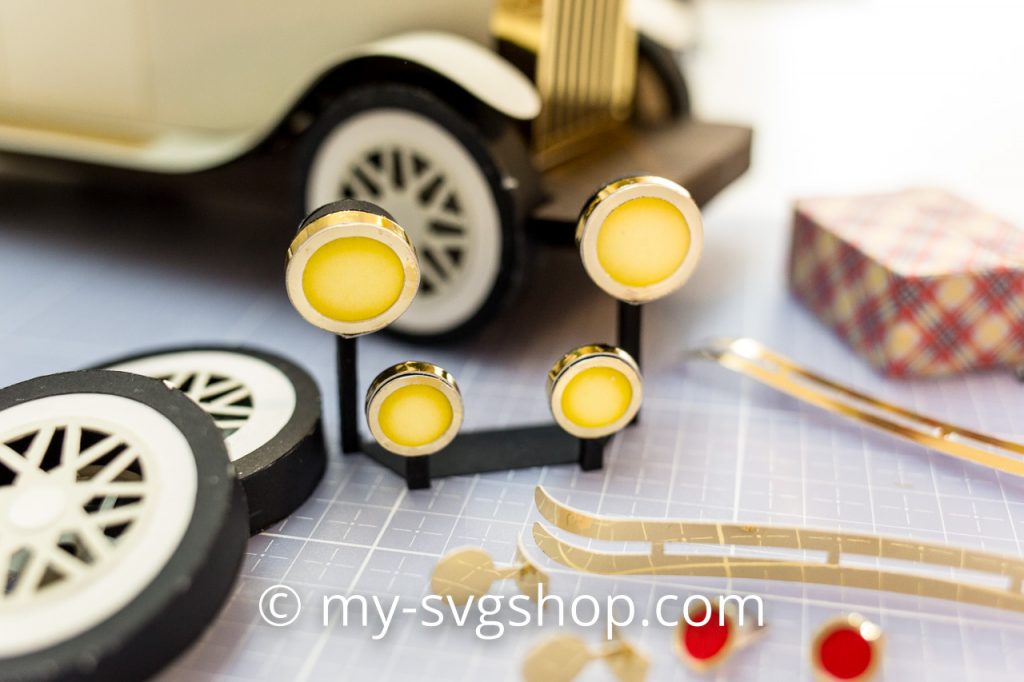
As the last section you have to produce all the small details like headlights or mirrors. In view of the many small parts, this is a relatively laborious affair, but it is really worth it due to the great later appearance of the classic car!
Finally, a few photos of the finished classic car – the rear view with the case is also a real eye-catcher!
